True Love in a Mug

I am about to tell you about something that will change your life.

It’s called a 30 second mug brownie.  And it is divinely amazing.

It’s so simple, you’re going to want to make one with every meal…

First, combine a tablespoon each of flour, cocoa powder, and brown sugar in a mug.


Next add a tablespoon each of vegetable oil and water, and mix it together.

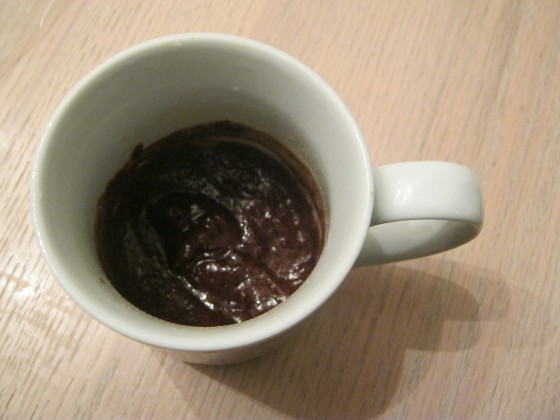
Microwave for 30 seconds… feel free to let out excited yelps and jump around in anticipation.

And there you have it, a 30 second brownie made from common ingredients in a mug.  What more could you want in a dessert?!

All the thanks and glory goes to my friend Liz on this one, who shared this amazing recipe with me!

Vegetarian Chili

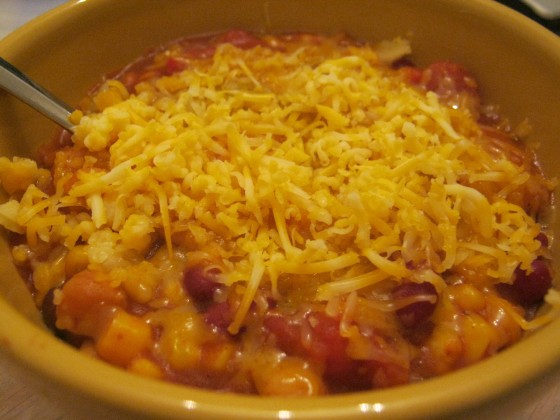
Before I share my next craft, I thought I’d share my award-winning* vegetarian chili recipe.  It is very hearty and perfect for frigid winter days.

*I never technically won an award for it, but I DID enter it into a chili contest and overheard a woman telling her husband that it was really good.  That’s pretty much a win to me.

Here’s what you’ll need:

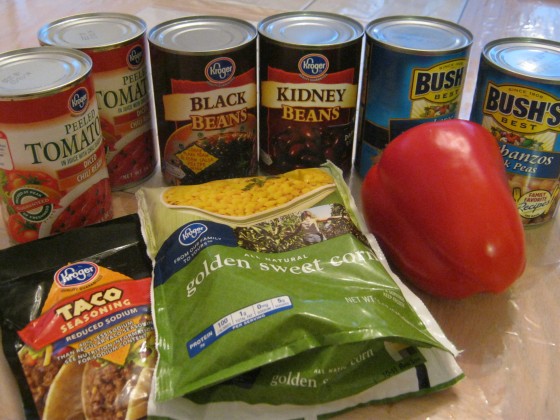
  • 4 cans of different types of beans.  I used black beans, kidney beans, butter beans, and garbanzo beans, but you can mix it up
  • 2 cans of diced tomatoes (plain or with chili seasoning already added)
  • Frozen corn (12 oz)
  • 1/2 of a medium onion
  • 1 red bell pepper
  • Packet of taco seasoning
  • Olive oil
  • A stove or alternate heating source

Roughly chop the onion and red pepper.

Heat up a little bit of olive oil in a large pot on medium high heat.  Add the onions and peppers and stir occasionally.  You can also add a little salt, which brings out the onion-y juices and helps them cook faster.

Open up the cans of beans and drain and rinse them.

Beans are so great.  I am pretty sure they’re healthy but I’m no expert.

I got hooked on beans my first year of college.  I added them to my salads in the dining hall, and pretty soon I was eating spinach and bean salads all the time.  Okay, that doesn’t sound that appealing but they’re very good!

I like mixing up the colors and sizes of the beans so that the chili is super jazzy.

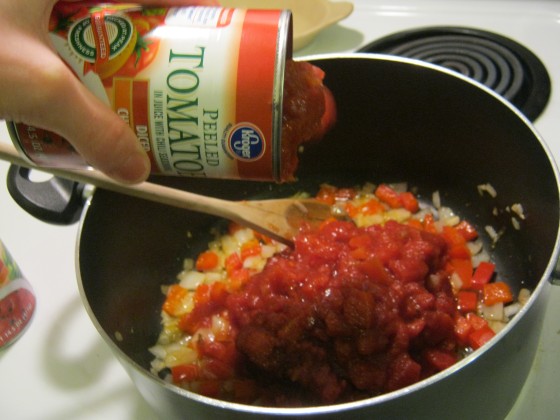
Anyway, enough about beans.  Add your diced tomatoes plus the juices into the pot.  Here’s an action shot to demonstrate:

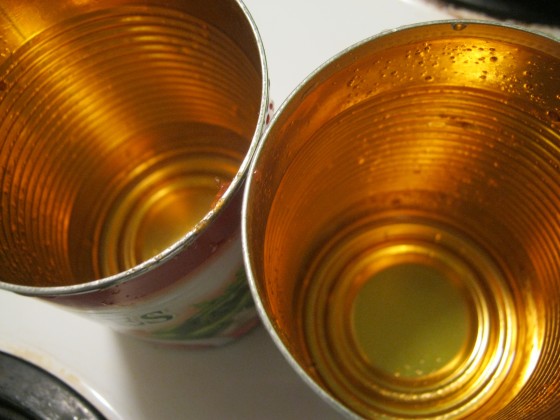
Check out these fancy cans!  Kroger has really outdone themselves.

Dump in all the beans, and add the taco seasoning.  I usually add some water, about 1 can-full.  Stir it up and simmer for 15-20 minutes.  If you want it thicker, you can stir in a spoonful or two of flour.

Add your desired toppings (cheeeeeeeeeeeeeeeeeese).  You could also very easily add meat to this chili.  When I made this for my family a few weeks ago, my brother asked where the meat was… gosh.

Yummm 🙂

Happy Saturday!

Weaving

Weaving is an ancient art, practiced back in the Biblical era (see Exodus 35:35).  It is a fine craft which usually yields fabric or cloth of some sort.  Today, however, I bring you…

To commemorate my brother’s last day at home before returning to school, my sister and I took it upon ourselves to endeavor in weaving bacon, possibly the classiest and definitely the tastiest form of weaving in existence today.  It is very a very simple process, documented below:

The first step is procuring bacon.  I bought the cheapest kind I could find (who knew bacon was so expensive?!) but if you’re weaving for a classier occasion, feel free to splurge.  Preheat your oven to 350-400ish.
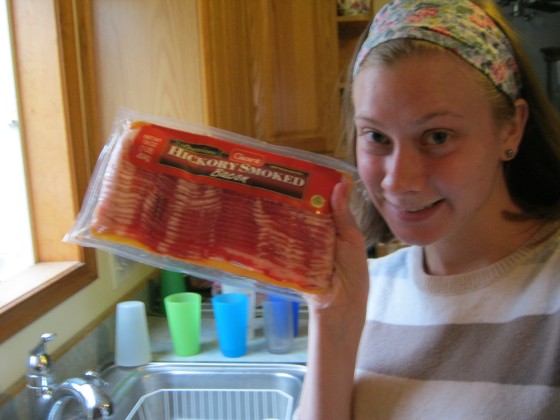
Pose for several photos with your bacon.  It needs to know that it is loved and in good hands.

This is my sister, who photographed this experiment.

Open your bacon.

Try not go get grossed out by its slippery slimy-ness.  Don’t think about how it used to be a really cute baby animal.

Lay your bacon out in rows on a baking sheet.  Then, fold every other strip in half.

Place another strip of bacon perpendicular to your rows, and then unfold the folded pieces so they cover that strip.
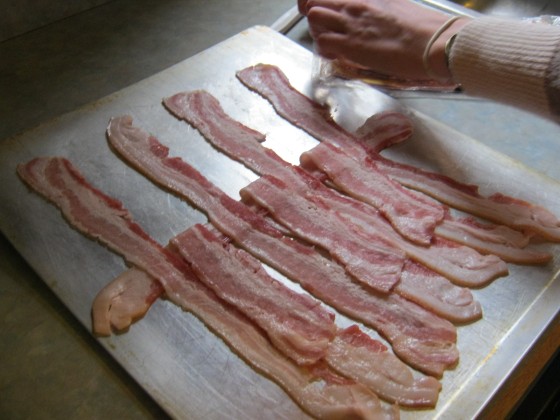
Next, fold down the other strips that were left out last time (this should still be every other piece).

Place a piece of bacon next to the other one, making it snug!  Unfold the folded strips, and continue.  Do this to the other half as well.

You have woven bacon!  Look at how lovely that looks.

If you have one, transfer your bacon weave to a fancy pan that lets the gross grease drip down.  This will help it get crispier and not make a mess in your oven.

Again, model with your bacon.

Put that woven bacon in the oven and bake it.  Because bacon weaving is still an amateur trade, I had trouble finding baking instructions so I made my own up.  I cooked it for about 30 minutes at 350°, then another 15 minutes at 400°.  I would recommend baking it at a higher temperature right away, which would make it cook faster I believe.

When cooked to your preferred crispiness, remove the bacon and admire it.  Oohs and aahs are appropriate.

Bask in your glory as a bacon weaver.  Very few have reached this peak in life.

Eat your bacon!  You deserve it after all that hard work.

I hope you enjoyed my bacon adventure as much as I did, and that you are inspired to try it yourself.  Stay tuned for the first craft of the year, coming soon!